27Mar
Ground Reinforcement 101: Choosing the Right Grid for Your Project
Ground reinforcement is one of the most important steps in creating durable outdoor surfaces. Whether you are building a driveway, parking area, garden pathway, or patio base, the stability of the ground beneath it determines how long the finished surface will last.
Without proper support, surfaces can sink, shift, or develop ruts over time. This is especially common in areas with loose soil, heavy rainfall, or frequent vehicle traffic. Ground reinforcement systems help prevent these issues by spreading weight more evenly across the surface and strengthening the base layer.
One of the most effective solutions available today is a gravel grid system. These systems provide structure to gravel and other loose materials, creating a stable foundation that improves drainage and prevents displacement.
Understanding how these systems work and how to choose the right one for your project can make a significant difference in performance and longevity.
Why Ground Reinforcement Matters
Outdoor surfaces face constant pressure from weather, weight, and regular use. Without reinforcement, gravel or soil can shift easily, especially when vehicles or heavy equipment are involved. Ground reinforcement solutions help solve several common problems:- Gravel movement and surface ruts
- Poor drainage leading to puddles or erosion
- Uneven ground caused by heavy loads
- Weed growth through surface layers
- Surface wear from regular traffic
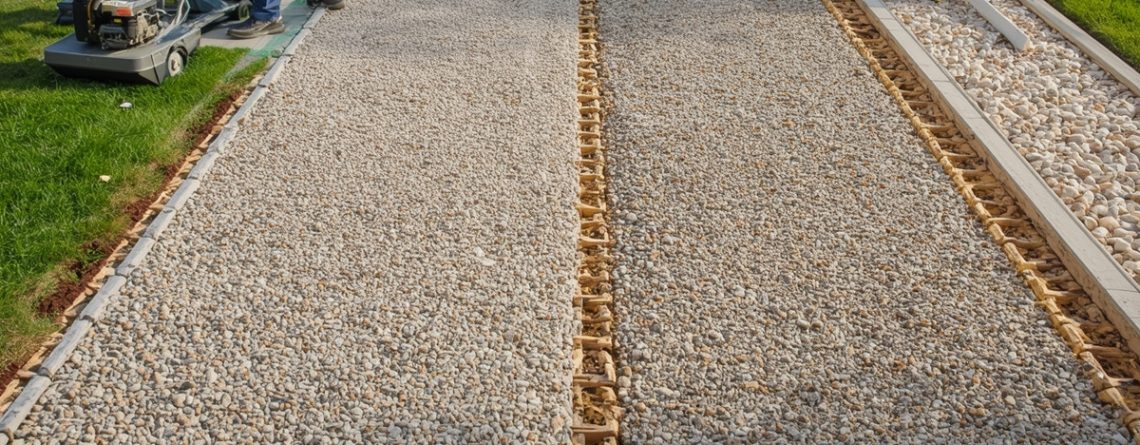
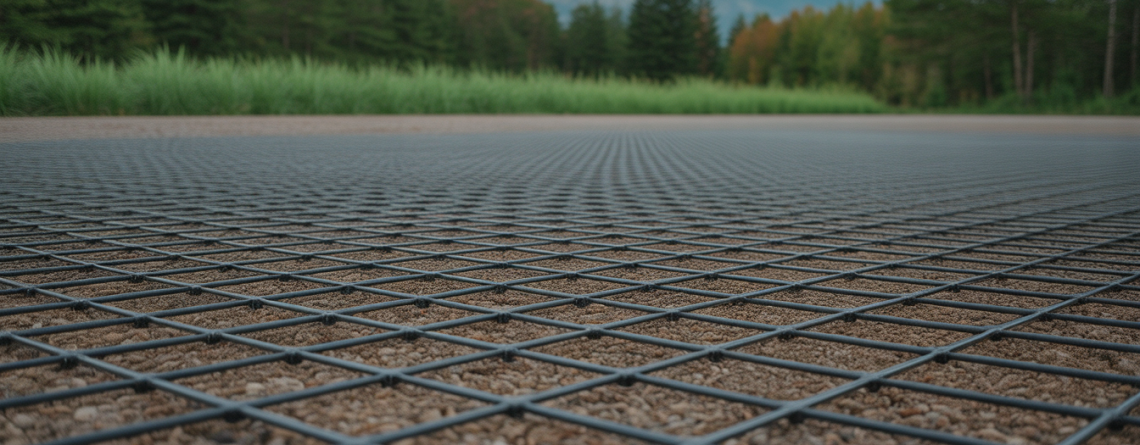
What Is a Gravel Grid System?
A gravel grid is a structural layer designed to hold gravel or other aggregates in place. These grids are typically made from strong plastic or composite materials that form a honeycomb or cellular pattern. Once installed and filled with gravel, the grid creates a stable surface that still allows water to drain naturally through the gaps. The main benefits include:- Improved load distribution
- Increased surface stability
- Reduced gravel migration
- Better drainage performance
- Longer surface lifespan
Common Applications for Ground Reinforcement Grids
Ground reinforcement grids are versatile and can be used in a wide range of landscaping and construction projects.Driveways
Gravel grids are one of the most common applications for driveways. Vehicles place repeated pressure on the same areas, which often leads to tire ruts and shifting gravel. Reinforcement grids help prevent these issues by stabilizing the surface beneath the gravel layer.Garden Pathways
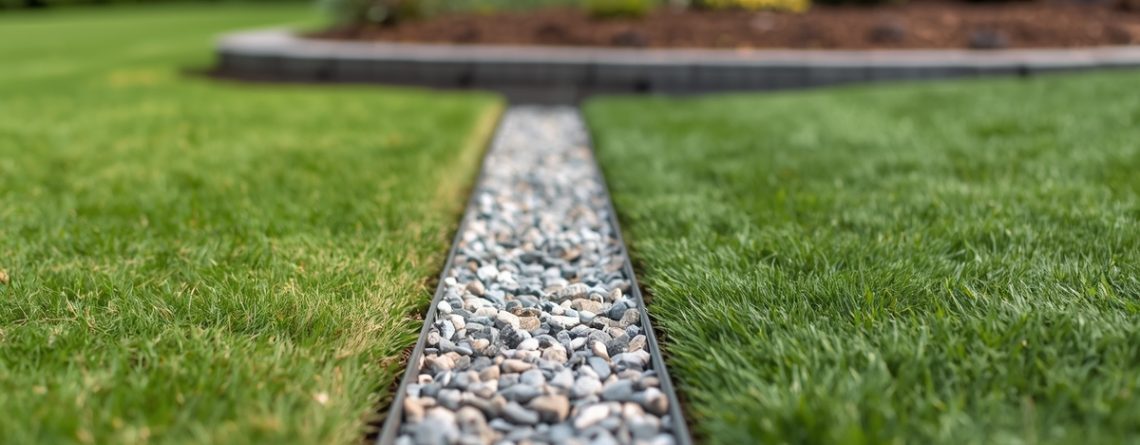
Pathways made with gravel can become uneven or scattered without support. Grid systems hold the gravel in place while still allowing water to drain naturally through the surface.Parking Areas
Parking spaces, especially in residential or rural settings, benefit from reinforced gravel surfaces. These grids help create a strong base that can support vehicle weight without requiring fully paved surfaces.Outdoor Event Spaces
Temporary or multi-use outdoor spaces sometimes require reinforced surfaces to support equipment or large numbers of visitors. Grid systems provide strength while maintaining a natural appearance.Sloped Areas
Gravel tends to shift more easily on slopes. Reinforcement grids help keep the material contained, reducing erosion and improving safety.Key Factors to Consider When Choosing a Grid System
Not all ground reinforcement products are designed for the same purpose. Selecting the right system requires understanding your project's needs. Several factors can help guide the decision.Load Capacity
One of the most important considerations is the amount of weight the grid must support. Projects involving vehicles or heavy equipment require grids designed for higher load capacity. Garden pathways or decorative areas may only need lighter support. Check product specifications carefully to ensure the grid can handle the expected pressure.Ground Conditions
Soil type plays a major role in determining the right solution. Loose soils, clay, or areas with poor drainage may require additional support layers beneath the grid, such as a geotextile membrane, to prevent sinking and improve water flow. In contrast, well-compacted ground may only require minimal preparation.Drainage Needs
Proper drainage prevents water from pooling on the surface. Most reinforcement grids allow water to pass through naturally, but the base layers beneath them also affect how efficiently water moves away from the area. Including drainage fabric or a compacted stone base can improve long-term performance.Ease of Installation
Some grid systems are designed for quick installation with interlocking panels, while others may require more preparation. Choosing a system that matches the skill level of the installer and the scale of the project can help reduce construction time and effort.Surface Appearance
A reinforced surface should not only be functional but also visually appealing. Many grids are designed to remain hidden beneath gravel, creating a natural look that blends well with landscaping features. This is particularly important for residential gardens and decorative outdoor spaces.The Role of Base Layers in Ground Reinforcement
While reinforcement grids provide structural support, the layers beneath them are equally important. A typical installation often includes:- Excavation of the project area
- A compacted sub-base made of crushed stone or aggregate
- A separating or drainage layer, such as landscape fabric
- Installation of the grid panels
- Filling the grid cells with gravel or other materials
Benefits of Using Gravel Grid Systems
Ground reinforcement grids offer several advantages compared to traditional loose gravel installations.Reduced Surface Movement
Grids lock gravel into place, preventing displacement caused by vehicles or foot traffic.Improved Drainage
Water flows through the open grid structure and into the ground below, helping reduce puddles and runoff.Lower Maintenance
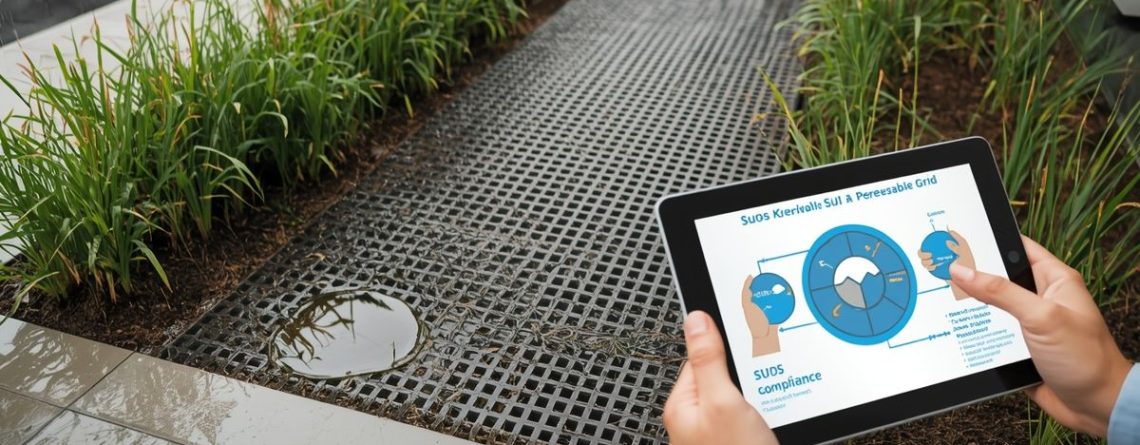
Because gravel stays contained within the grid cells, surfaces require less frequent leveling or replacement.Environmentally Friendly Surfaces
Permeable gravel systems allow water to soak into the soil, which helps reduce surface runoff. According to research from the U.S. Environmental Protection Agency, permeable surfaces can play an important role in managing stormwater in developed areas.Long-Term Cost Efficiency
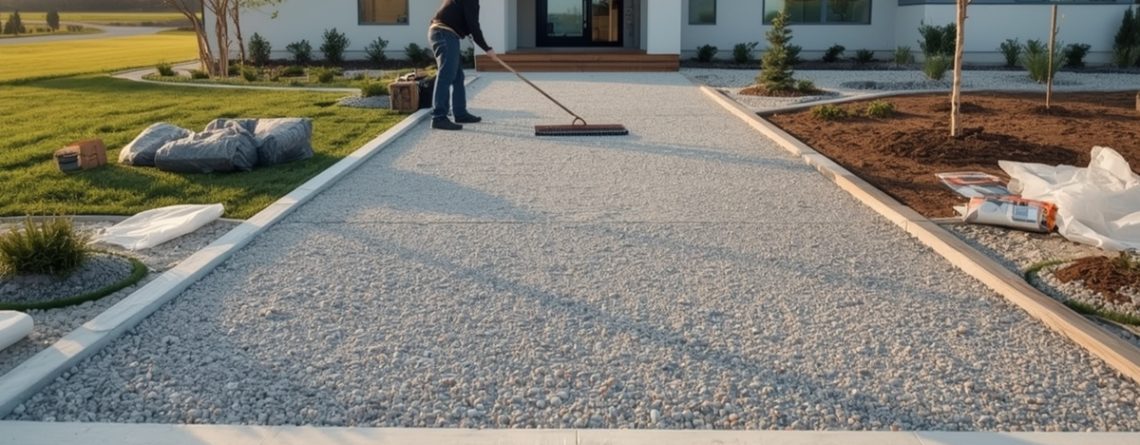
Although installation involves an initial investment, reinforced gravel surfaces often require fewer repairs over time compared to unreinforced installations.Tips for Successful Installation
Choosing the right grid is only part of the process. Proper installation is essential for achieving the best results. Consider these practical tips:- Prepare the ground carefully and remove soft soil where necessary
- Install a stable and compacted sub-base
- Use high-quality gravel grids that match the intended load requirements
- Ensure grid panels are securely connected during installation
- Fill the cells evenly with the correct type of gravel
- Compact the surface lightly to settle the aggregate
Choosing Reliable Landscaping Materials
Outdoor projects often involve several components beyond ground reinforcement. Materials such as edging, drainage fabrics, and decorative aggregates all contribute to the final result. Working with a trusted supplier makes it easier to find compatible materials that perform well together. A reliable source for garden landscaping products can help ensure quality, durability, and consistent results across the entire project. Landscapes Direct offers a wide selection of professional landscaping materials designed to support both residential and commercial outdoor spaces.Planning Your Ground Reinforcement Project
Every project has unique requirements. A small garden path may need only basic reinforcement, while a driveway or parking area must handle much heavier loads. Before starting your project, it can help to consider:- The type of surface you want to create
- The expected traffic or weight
- Local soil conditions
- Drainage needs
- Long-term maintenance requirements